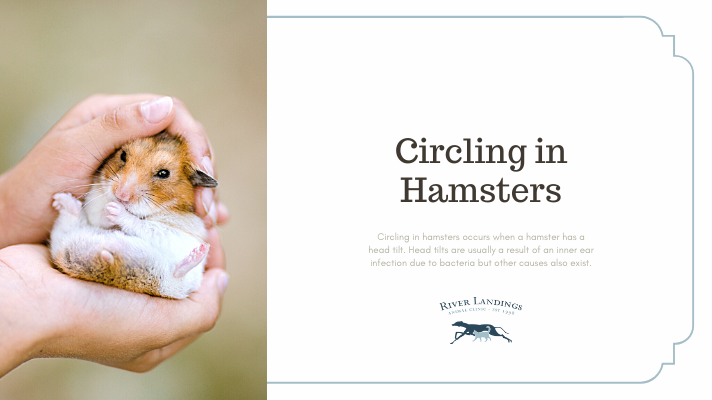
Hamsters are very active so it’s normal to see them running around their cages and on their exercise wheels. But if your hamster suddenly begins circling and tilting its head to one side while it is running around then this indicates something more concerning. Veterinary care may be necessary if your hamster is circling, so being able to recognize this issue is important for your hamster’s health.
Causes of Circling in Hamsters
Circling in hamsters occurs when a hamster has a head tilt. Head tilts are usually a result of an inner ear infection due to bacteria but other causes may be present.
With an inner ear infection, bacteria from a dirty environment or a respiratory infection enters the ear canal. The pressure that the infection causes inside the ear canal may result in a hamster feeling off-balance and in pain. This results in circling when it walks and some hamsters may even fall over.
Neurological problems due to trauma or a brain disease like epilepsy can also cause circling in hamsters. These issues are not as common as a bacterial infection in the ear but are still possible reasons for this type of behavior.
Diagnosing the Cause for Circling in Hamsters
While circling in hamsters may be an obvious behavior to observe, in order to know for sure what is causing this some tests may need to be run.
Since an ear infection is the most likely reason for the circling, debris from inside your hamster's ear may be looked at under a microscope. This will check to see if bacteria from an infection is present and, if it is, an ear infection will be diagnosed.
Neurological problems are harder to diagnose. If your hamster was recently injured before the circling began then this may mean it suffered head trauma at some point. Being dropped, grabbed by a dog, or crushed in a door or piece of furniture are all types of injuries that may cause head trauma.
Seizures are a symptom that will coincide with epilepsy, another neurological issue. There is no test for epilepsy. In these instances, continued close observation may be required and videoing any unusual behavior could be helpful for your vet.
Treatment of Circling in Hamsters
Persistent or severe circling in hamsters always merits a visit to your veterinarian.
If the behavior is caused by an ear infection, antibiotics that are safe for a hamster to take will need to be prescribed as treatment. Without them, permanent damage can occur to your hamster's ear and the circling may never stop. Infections can also lead to more serious complications that, in extreme cases, can be life-threatening. Oral antibiotics and sometimes pain medications may be needed to treat the infection. If ear debris is visible a gentle cleaning may also be helpful.
If the circling is not due to an ear infection then it may be more difficult to treat. Brain damage from seizures or head injury can be permanent. Some circling will resolve over time on its own but some hamsters may have permanent circling. If the circling is so bad that it affects your hamster's quality of life and it is unable to eat then euthanasia may be discussed.
How to Prevent Circling in Hamsters
Hamsters are small pets that like to hide. It can be difficult to notice when they are acting a little strange in their cages, but regular observation of your hamster's normal activities can help detect the beginning of a problem. This, along with regular cleaning of the cage and washing of the cage accessories, can help prevent ear infections that cause circling.
In order to prevent head trauma that can result in circling, be sure to only allow children to handle your hamster when they are sitting on the ground. This will decrease the likelihood of your hamster falling and getting hurt. When the child is done holding your hamster, either bring the cage to the floor to put them back in it or gently take your hamster from the child so that you can carefully put it back in its cage yourself.
Keep your hamster safe if you have dogs or cats in the house when they are out of their cage and make sure that their cage is secure and locked over at all times.
Accidents can happen but they are far less likely to occur if you supervise carefully and take extra precautions.
Hear From Us Again
Don't forget to subscribe to our email newsletter for more recipes, articles, and clinic updates delivered straight to your e-mail inbox.
Related Categories:


